How much do spine tattoos hurt — and what works there?
The short answer: spine tattoos are an 8–9/10 directly on the vertebrae — bone right under thin skin — and noticeably easier an inch to either side. The needle cannot reach your spinal cord; it works 1–2mm deep and the cord sits far deeper behind bone. The real cost is pain and awkward healing, not danger. In exchange you get the best vertical canvas on the body.
The pain, honestly
Directly over the vertebrae, you're tattooing skin stretched over bone with almost no padding. That puts the spine in the top tier with ribs, sternum, and hands. Each bump of a vertebra is a fresh spike.
Shift an inch to either side and it drops noticeably — the paraspinal muscles give the needle something to cushion against. Artists use this: a design that weaves along the spine rather than sitting dead-center hurts less and often flows better.
One more thing nobody mentions: spine sessions feel longer. You're face-down, you can't watch the work, and the sensation is repetitive. Two hours here feels like three anywhere else. Eat first, breathe, and take breaks.
The safety myth, debunked
The fear that a needle could hit your spinal cord is anatomy fiction. Tattoo needles deposit ink 1–2mm into the dermis. Your spinal cord sits centimeters deeper, armored inside the vertebral column. No tattoo needle gets anywhere near it. The real issue with spine tattoos is simply that they hurt.
Why spine pieces are having a moment
- The vertical canvas. Nowhere else on the body gives you 18+ inches of straight, uninterrupted line.
- Built-in symmetry. The spine is your body's centerline. Designs anchored to it read as intentional in a way off-center pieces can't.
- Revealed by choice. Covered by every shirt, shown by a backless dress or a beach day. You control who sees it, unlike hands or forearms.
Designs that fit the canvas
| Design | Why it works |
|---|---|
| Vertical script one-liner | A single phrase running down the centerline. Size the lettering generously — small script blurs over time. |
| Ornamental / geometric ladder | Repeating symmetric elements descending vertebra by vertebra. The classic spine look. |
| Florals descending | Stems and blooms cascading down, weaving slightly off-center to dodge the worst pain. |
| Snake following the S-curve | Your spine isn't a straight rod — a serpent tracking its natural curve moves with your body. |
Sizing and session planning
Long, thin pieces — a script line, a slim ornamental ladder — are often finished in one session. Multi-element ornamental work with shading and dotwork usually splits into two or more sittings, because sitting endurance runs out faster here than almost anywhere. Plan the split with your artist up front rather than tapping out mid-piece.
Healing quirks and how it ages
- Sleeping: back-sleepers have a rough two weeks. Side-sleep or stomach-sleep while it heals.
- Chair backs: desk chairs, car seats, and gym benches all press exactly where you're healing. Lean forward, pad up, or stand more.
- Bra bands: a band crossing fresh ink means friction all day. Time the piece around it or go strapless/bandless during healing.
- Aging: good news — the spine gets almost no sun, and sun is the #1 controllable fading factor. Spine pieces hold up well for decades.
Check the symmetry before you commit
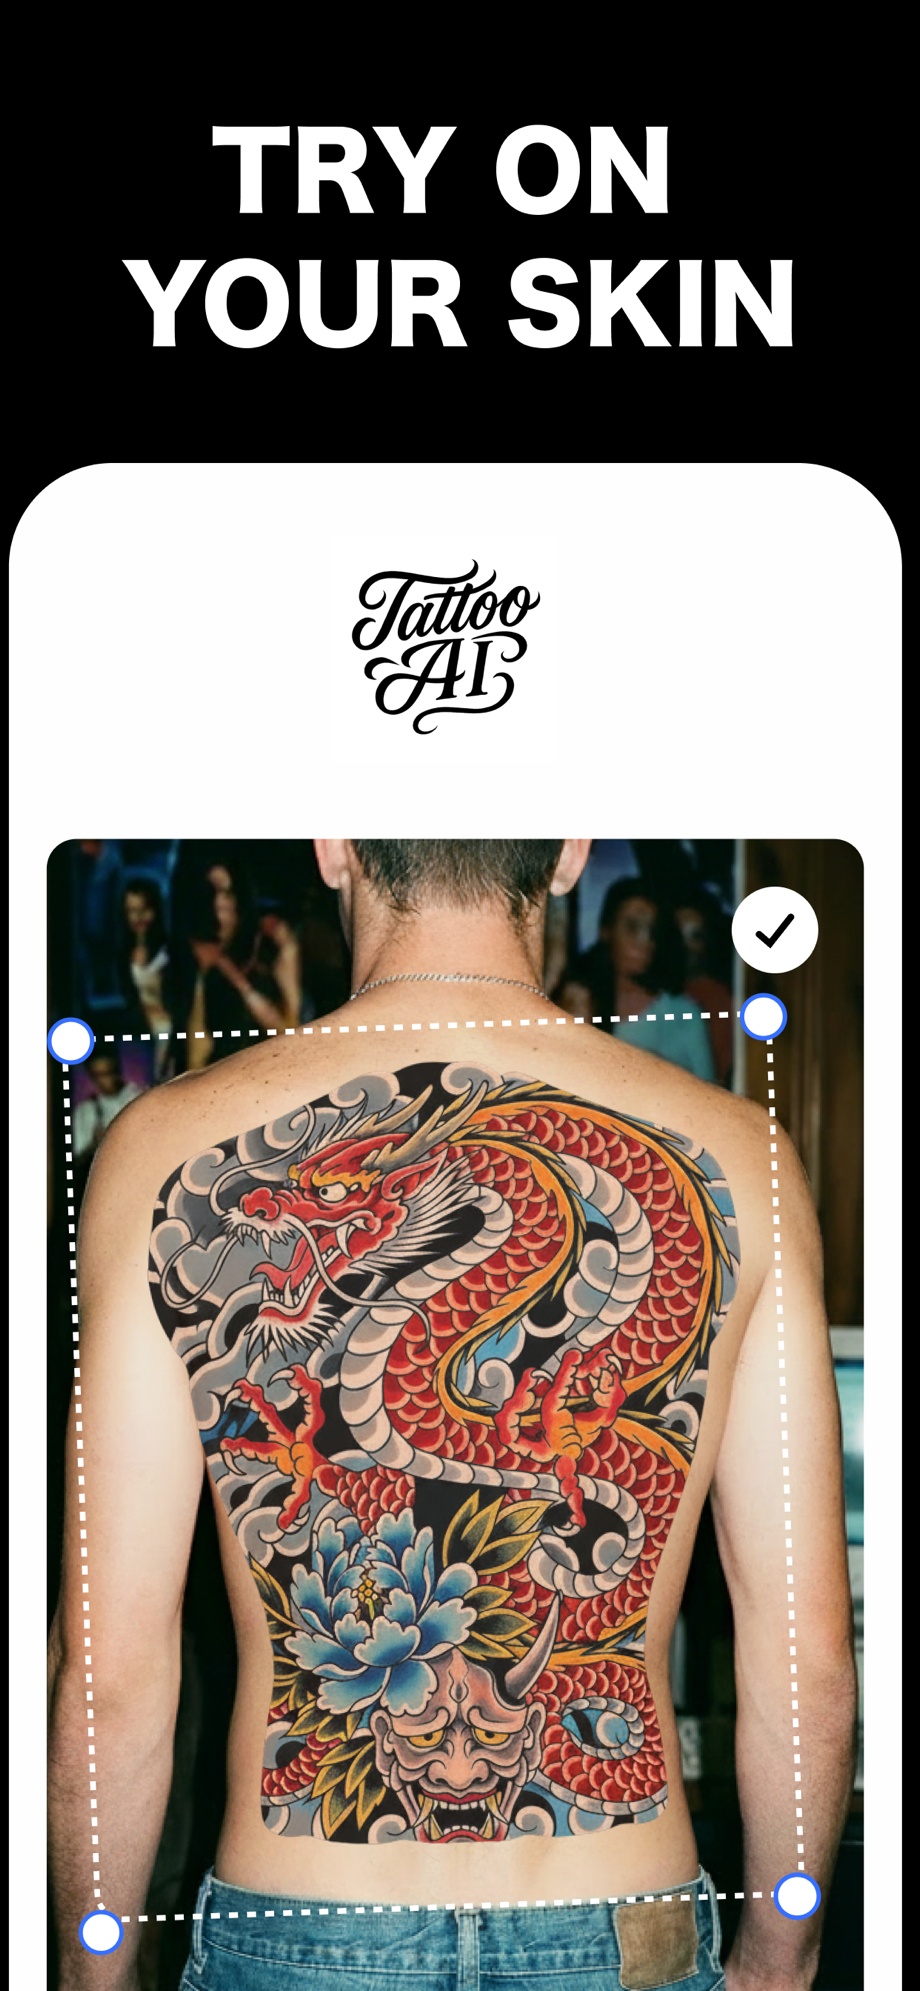
A spine piece lives or dies on symmetry and proportion, and you can't judge either from a Pinterest photo of someone else's back. Preview it on your back with Tattoo AI:
- Generate the design — describe your idea and pick a style; ornamental, script, and fine line all suit the spine.
- Upload a straight-on photo of your back — have someone shoot it square, arms relaxed, so the centerline is true.
- Place it on your spine and resize until the length feels right — should it stop at the bra line, or run to the sacrum?
- Judge the symmetry at real scale. If it reads even slightly off-axis on screen, it will read worse in skin. Adjust before the needle, not after.
Free on the App Store · iPhone & iPad